As the weeks go by I find that I am exploring processes and techniques I have not allowed myself to experiment with in detail. Trying things out, however trivial, is helping to keep me positive.
I am enjoying building up a collection of resources that I can use for a complete project later.
This is not the time to start the grand seminal project, I do not feel ready to embark on War and Peace or clean behind the fridge.
As each day goes by I am trying small experiments and working on getting better at what I do rather than take on something completely new.
There is one small upside to this enforced isolation, I no longer get cold calls on the land line!

This Sunday is all about rusting onto paper and fabric to add to your stash of mixed media eco prints.
You will need, rubber gloves, plastic bags, white vinegar, rubber bands and a variety of rusty metal things. Here I have old keys, tacks, course wire wool, old washers and some etched steel.
The daily walk is throwing up the odd bit of metal too, so keep your eyes peeled.

From left to right my substrates are handmade paper, tissue. cartridge paper, embossed 300gm Somerset etching paper, fabric that has sat for a year in a compost heap, white cotton and a piece of silk. You can use the less than successful eco printed paper /fabric. Everything has to be natural fibre.

Spray each substrate material with mixed half vinegar and half water. Each piece should be completely saturated.

Lay the first wet piece on a plastic bag and start to arrange your rusted objects.
Use rubber gloves when handling rusty stuff and pulling wire wool apart.
Neither are kind to hands.

Then lay the next soaking piece on top,

arrange the next set of rusted objects.

Keep layering substrate and objects in this way. I alternated paper and fabric layers.

It is important that the objects have full surface contact with the substrates. The rusty objects should be flat to achieve successful prints and everything must be really wet.

Carefully slide the bundle into a generously sized plastic bag .

And give it another good spray with your dilute vinegar for good measure.

Pop the bundle into a water proof tray, then
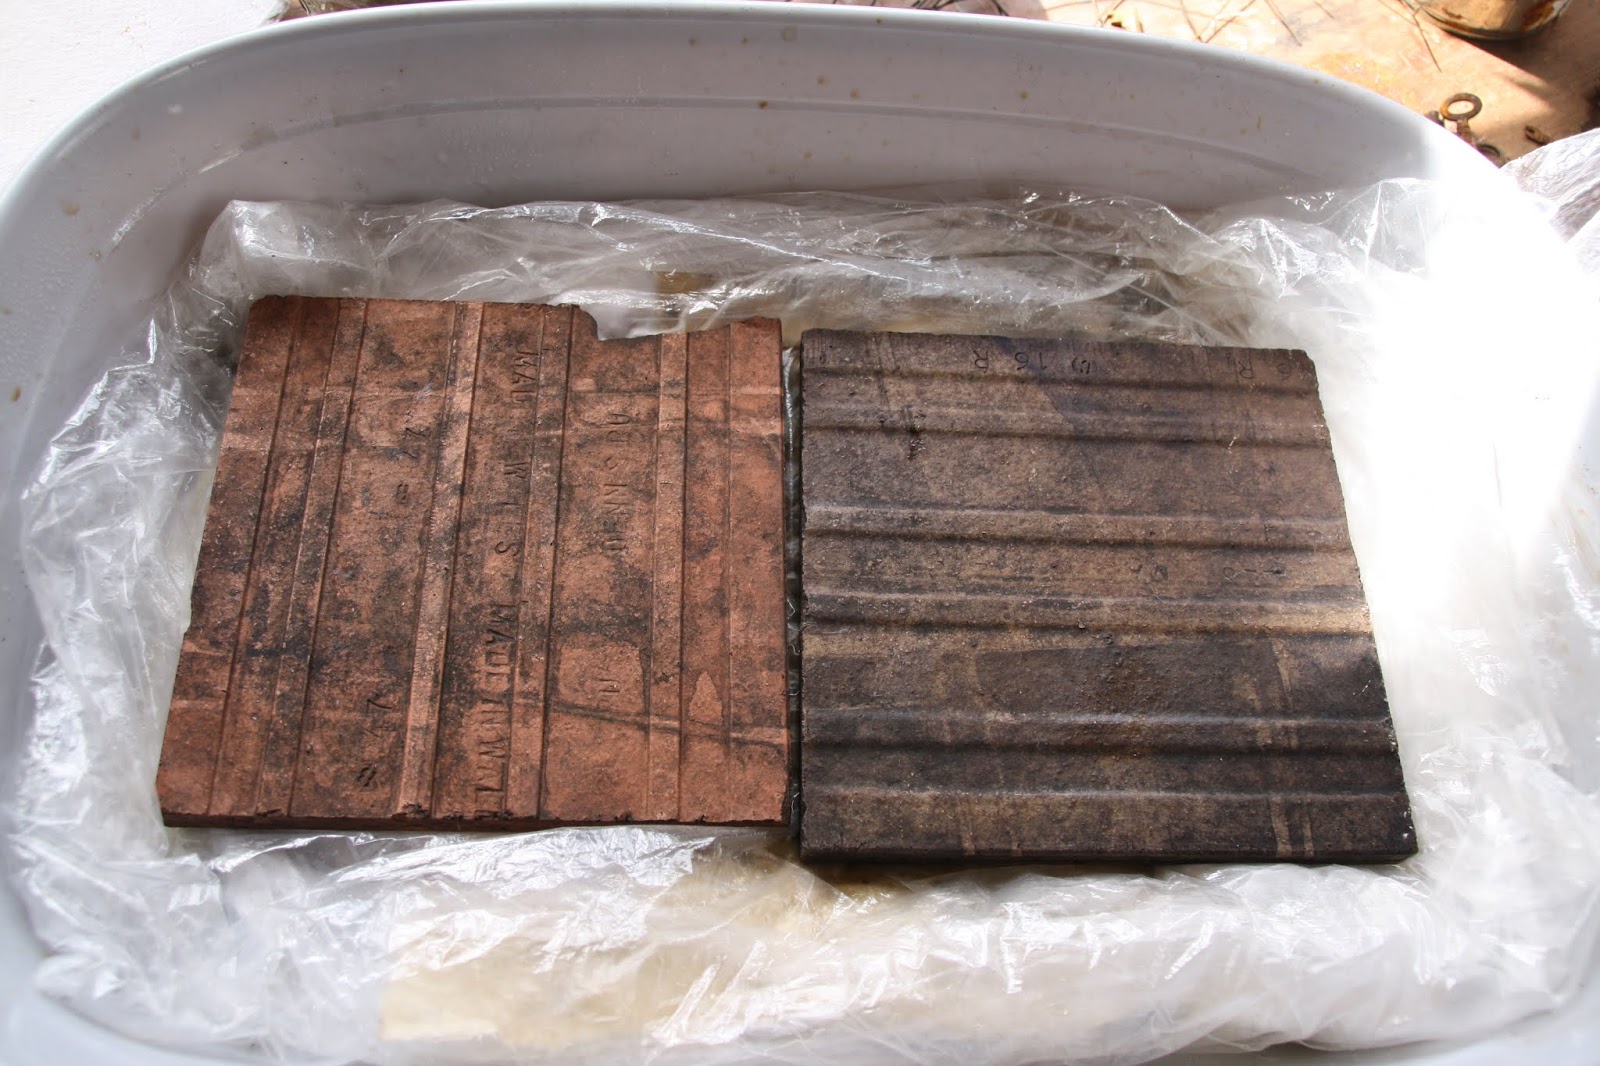
weight it down so that the substrate surfaces are in full contact with the rusty objects.
Leave over night.

This process will not take long.


Carefully peel off each substrate removing the rusty objects as you go.


Be extra careful with the wet tissue paper as it will be very delicate.

Let everything dry. Wash the fabrics gently in salty water to halt the rust.

I am very pleased with how well each of the fabrics took the rust prints.

The paper has also been very successful.
Of course you can adapt last weeks techniques to these surfaces or have a go at eco printing into the rusted patterns, what will happen?
Have a go with different wetting agents, just water, tea, coffee and see the difference that makes to the rust colour?
Try painting with acrylic onto the fabric and paper before you rust into them?
So much to try out and so much time in which to have a go!!
Further research:-
https://www.youtube.com/watch?v=7L4H1vwqQOY - Aannsha Jones makes a really lovely scarf.
https://www.lizziegoddentextiles.co.uk/blog/2018/6/20/printing-with-rust - Lizzie Godden works with some chunkier items.
https://www.the-sustainable-fashion-collective.com/2015/05/27/unusual-eco-design-technique-rust-dyeing Charlie Bradley Ross talks about eco fashion design
and last but by no means least
http://www.alicefox.co.uk/ - Alice Fox
Good luck and it would be lovely to see any results from these prompts, you can find me at https://www.instagram.com/sb.brown21/ and tag @sb.brown21 if you post anything there.
Have the best creative week you can. Best wishes, Sue
No comments:
Post a Comment